
One of my latest favorite materials to work with from Cricut is their foil!
Whether it’s from their iron-on line or the adhesive stainless foil…I love it all. If you have a new cricut machine, you’ll want to try it out.
It’s just so shiny and versatile – and I feel like it’s perfect for holidays…such as the Fourth of July (make sure you check out these two fun Fourth of July cut files I created!).
So for my blog post this month that I’m doing in partnership with my friends over at Cricut, I decided I would spread the Cricut joy and share a tutorial about how to use Cricut Foil Iron On.
But before I share that, I wanted to keep things real and let you know that I have had some major issues with this at first, especially on my first project . In my Cricut Support group, I often hear fellow Cricut-ers lament on how they just can’t seem to get their projects right whether they’re creating their own designs or using a template . There are so many different materials you can use like adhesive vinyl, but the foil is on the trickier side.
So I think it’s important to share some of my goof-ups…so people know that even the “experts” (not that I really consider myself one 😉 mess up too.
I’m hoping that by sharing these few things NOT to do will save you some time and some headaches! These tips can probably be applied to most iron-on materials (like this iron-on holographic sparkle!).
Okay, this is probably one of those moments where you are like, “Duh!” But mistakes can happen.
I was so excited to get started on my projects, that when I went to Jo-Ann’s to pick up my foil…I accidentally grabbed the stainless foil…NOT the iron-on!
And it wasn’t until I went to put the foil on my project that I realized it wasn’t iron-on.
I think I’ll chalk this one up to mom brain instead of the learning curve .
So, just always double…no, triple, check that you are using the foil that you are intending to use! This will help you avoid an additional cost in the long run, and it’s’ the best way to make sure your new project goes well.
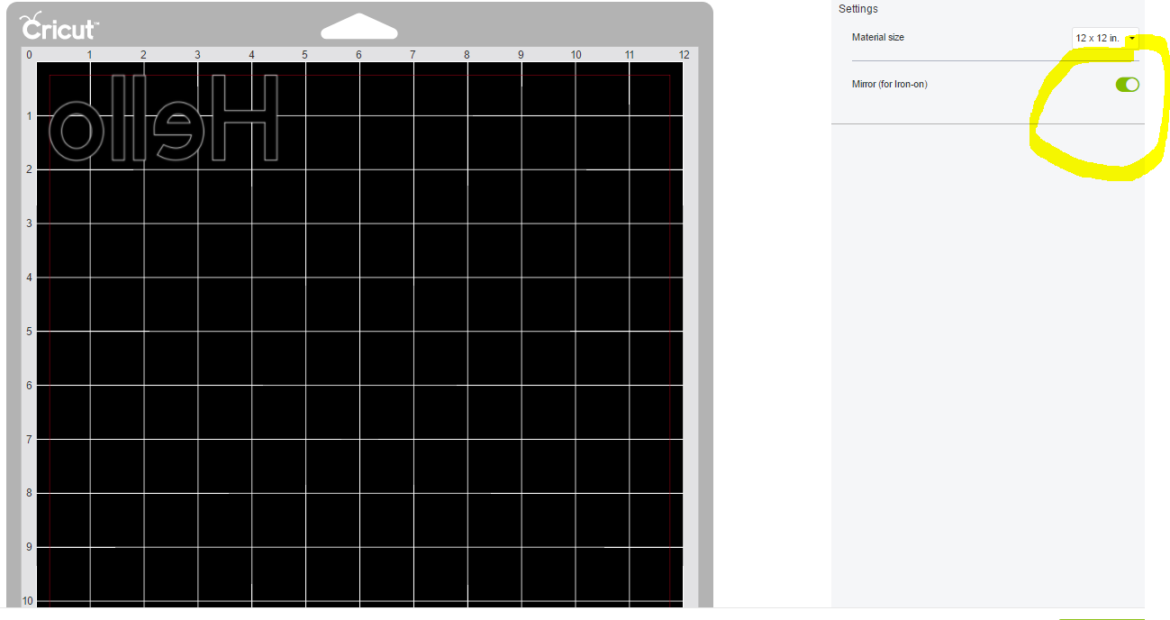
I can’t tell you how many times I’ve been working on an iron-on project, only to remember part way through my cut that I didn’t mirror the image. Double check this before you make the first cut especially if you’re working on larger projects! Seriously one of the worst feelings when you are working with your new machine!
If you feel more comfortable, you can always do a test cut before executing your project. Make sure you have a flat surface, Cricut mats, the Design Space app, internet connection, a place to plug in your power cord, and of course, your Cricut maker machine. Having the right setup will give you the best outcome when it comes to your Cricut projects. You can also find a YouTube channel that goes over how to do this or join a Facebook group for Cricut users!
Fortunately, when you select iron-on materials through Cricut Design Space…it will usually remind you to mirror it. However, when working with the iron-on file, I only see a Foil – Adhesive Backed, setting, which doesn’t automatically assume you are mirroring.
So make sure you mirror ALL your images – especially if there are multiple cuts in your design.
Whenever I hear liner, I always assume it’s just the opposite side of the color.
‘Tis not true with iron-on materials. I mess up with this occasionally when I’m not really thinking about it.
With the iron-on foil, the liner is actually clear, so it’s covering the colored side. You can’t tell it’s the liner until you go to peel it off…but I assure you, that’s the side that needs to be facing down!
So, just remember this – cut with the color side down with your cutting blade on your cutting mat !
For iron-on foil, Cricut typically recommends the “wool” setting on your iron. While this typically works well, with my recent pillow project, I found that the foil was not sticking to it. I turned up the iron a little bit, and it worked much better!
I really had issues when I was working on my Fourth of July pillows. I wasn’t thinking, and I put down my entire design on the pillow and went to work.
Unfortunately, some parts of the foil adhered to the pillows…while other parts did not. And it just ended up being a big mess.
When working with iron-on materials, I think it is wise to cut the design into smaller pieces and work in those small areas – especially when working with thicker materials.
Of course, if you have a heat press, it’s a little easier to do it all at once – a heat press is definitely on my wishlist right now!
Okay, now it’s time for the tutorial on how to use this fun material. It’s really quite easy! This is your ultimate guide.
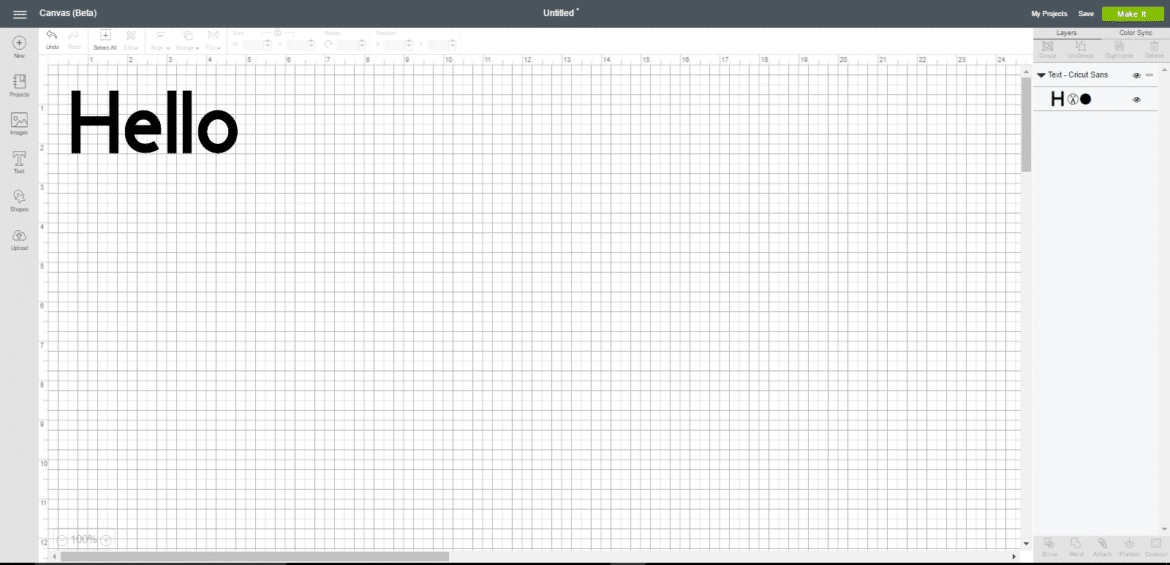
First off…make your design! You can do just about anything. Foil iron-on is ideal for home decor, shirts, canvas bags, etc. You can do different colors, intricate designs, different sizes, or pre-made designs for your project. The opportunities for fun projects are endless!
Once you’ve created your design, press the continue button in the Design Space software .
Make sure your design is situated on the mat the way you want it, and then select “mirror image” before you press continue.
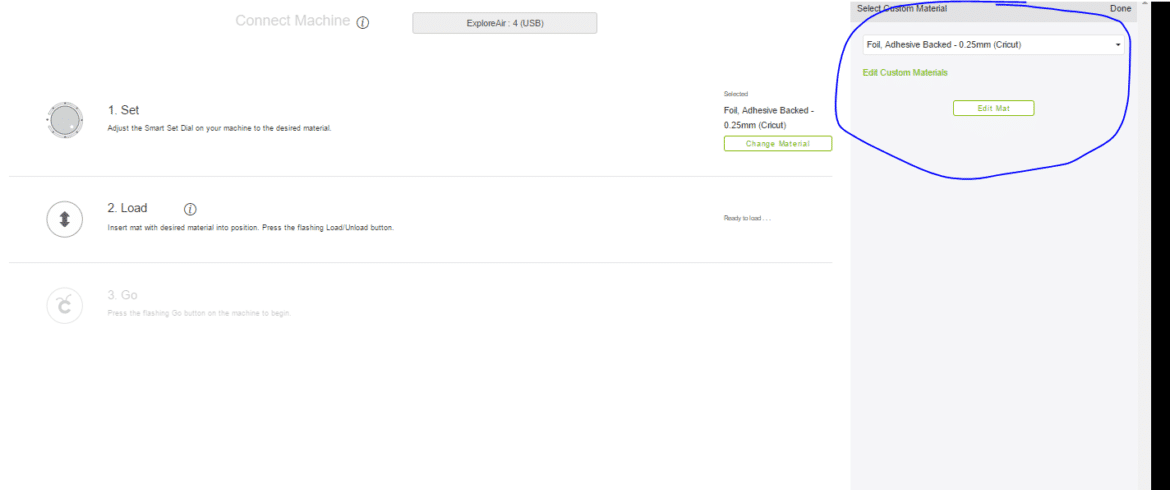
Once you’ve pressed continue, change the dial on your Cricut Explore Air to “Custom”. In Design Space, you will select Foil, Adhesive Backed – .25mm (Cricut).
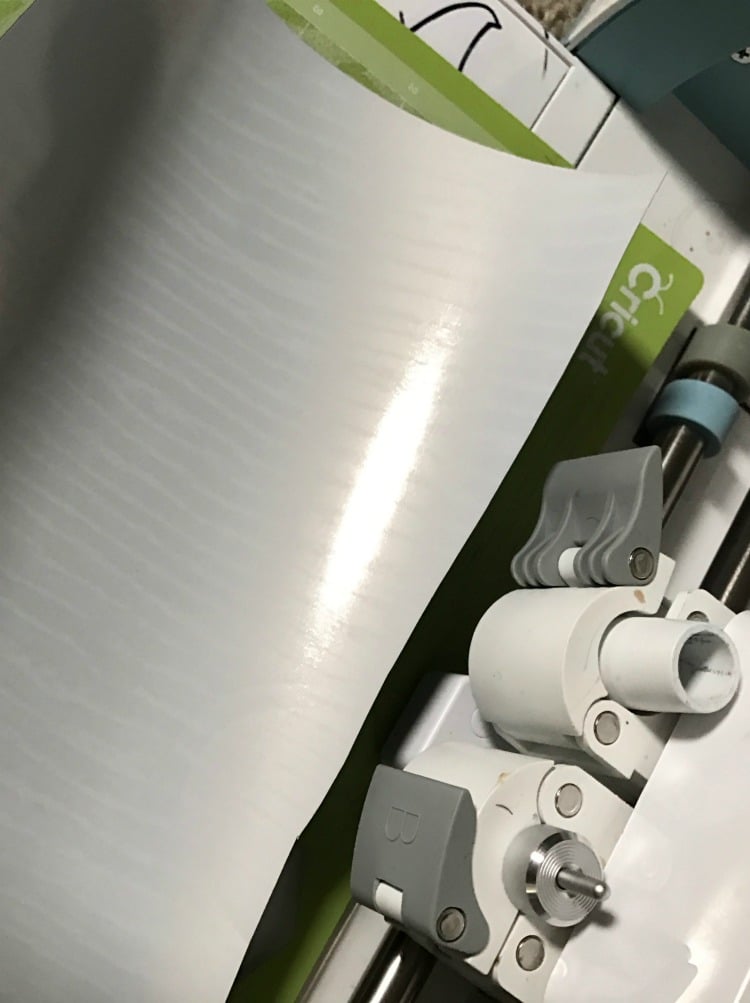
Next, you will load your materials. Make sure you place the material liner/color side down and load it into the machine. Press your flashing Cricut button on your machine and watch the magic happen!
Once you print then cut , weed out the excess material. Now it’s time to iron it on!
Heat your iron to the “wool” setting. If you are using an EasyPress, make sure you check out the Cricut EasyPress Interactive Guide for the ideal settings.
Preheat the area you will be ironing on to. About 15 seconds will do.
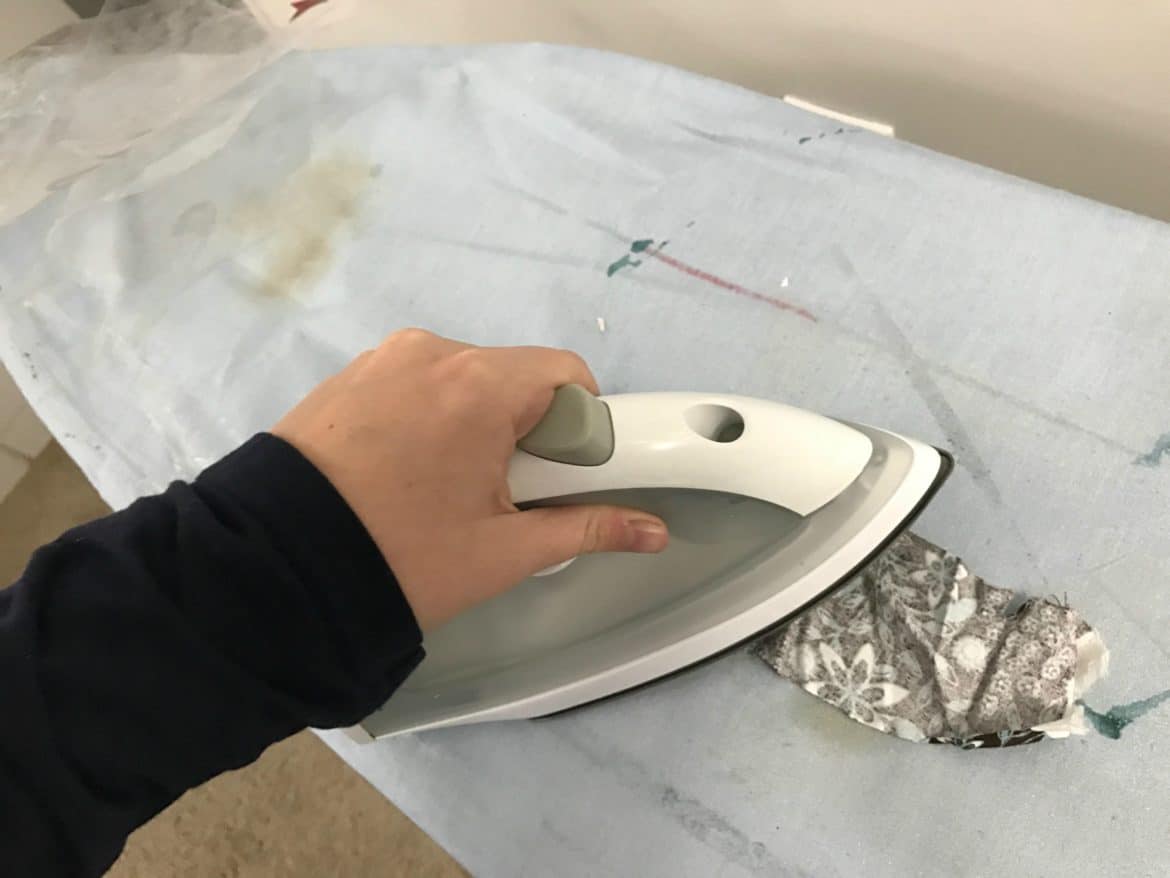
Place the iron-on foil with the plastic sheet facing up onto your material. Iron for about 30 seconds.
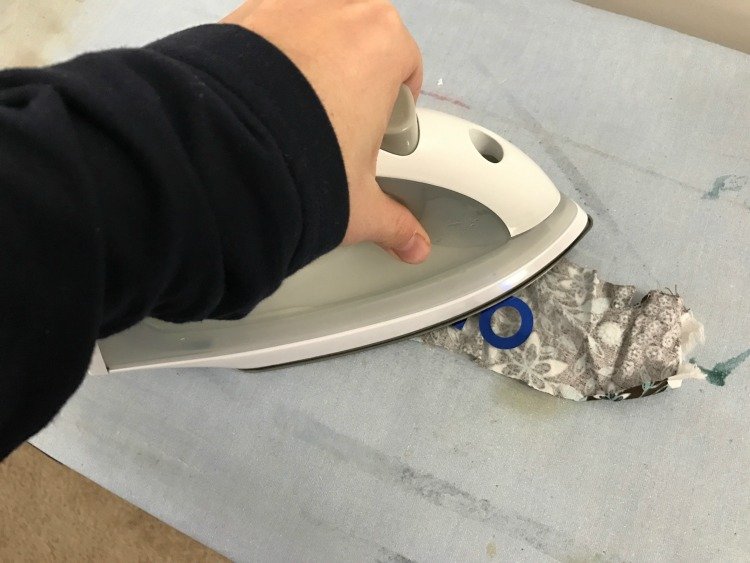
Slowly peel up (I usually go left to right) to make sure it’s on there nice and secure. If it is, remove the plastic liner completely and enjoy!